
Diy Ribbon On Christmas Tree

Creative Ideas Diy Ribbon Christmas Tree Icreativeideas Com Christmas Tree Decorations Diy Diy Christmas Tree Paper Christmas Tree

My Version Of The Ribbon Christmas Tree Christmas Ribbon Crafts Christmas Crafts Diy Ribbon Crafts

Diy Ribbon Christmas Tree Centerpiece Mesh Christmas Tree Diy Christmas Tree Christmas Centerpieces

How To Make A Scrap Ribbon Christmas Tree Ornament Recipe Christmas Crafts Christmas Ornaments Homemade Christmas Diy

Whipperberry Ribbon Christmas Trees Tutorial Ideas De Arboles Navidenos Arbol De Navidad Original Manualidades Navidenas

How To Hang Ribbon On A Christmas Tree Ribbon On Christmas Tree Christmas Tree Inspiration Christmas Ribbon

Then move up to the next row using your next widest ribbon.
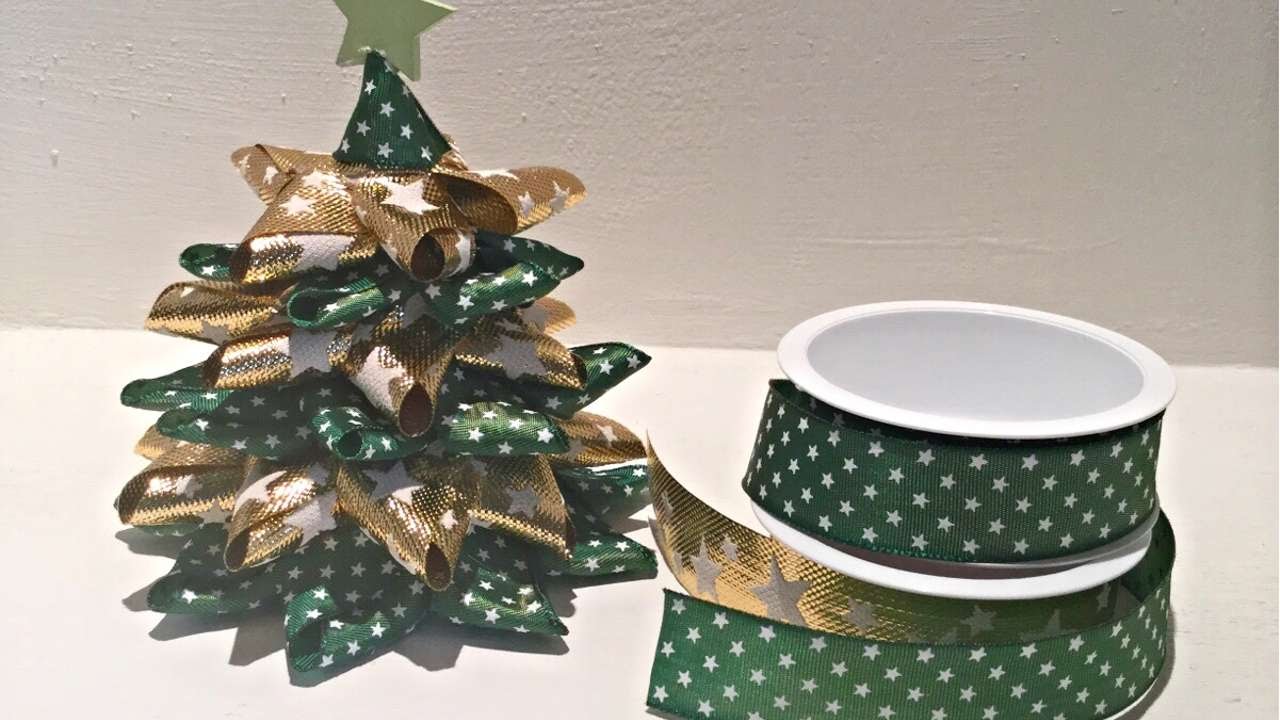
Diy ribbon on christmas tree. Cut the ribbon to between 2 and 4 foot lengths before putting it on the tree This makes it easier to manipulate and to make look more random on the tree. Following the tree all the way around I lined up each ribbon side by side to complete my first row. Just glue the little green and red ribbon pieces to a Styrofoam cone and decorate the top.
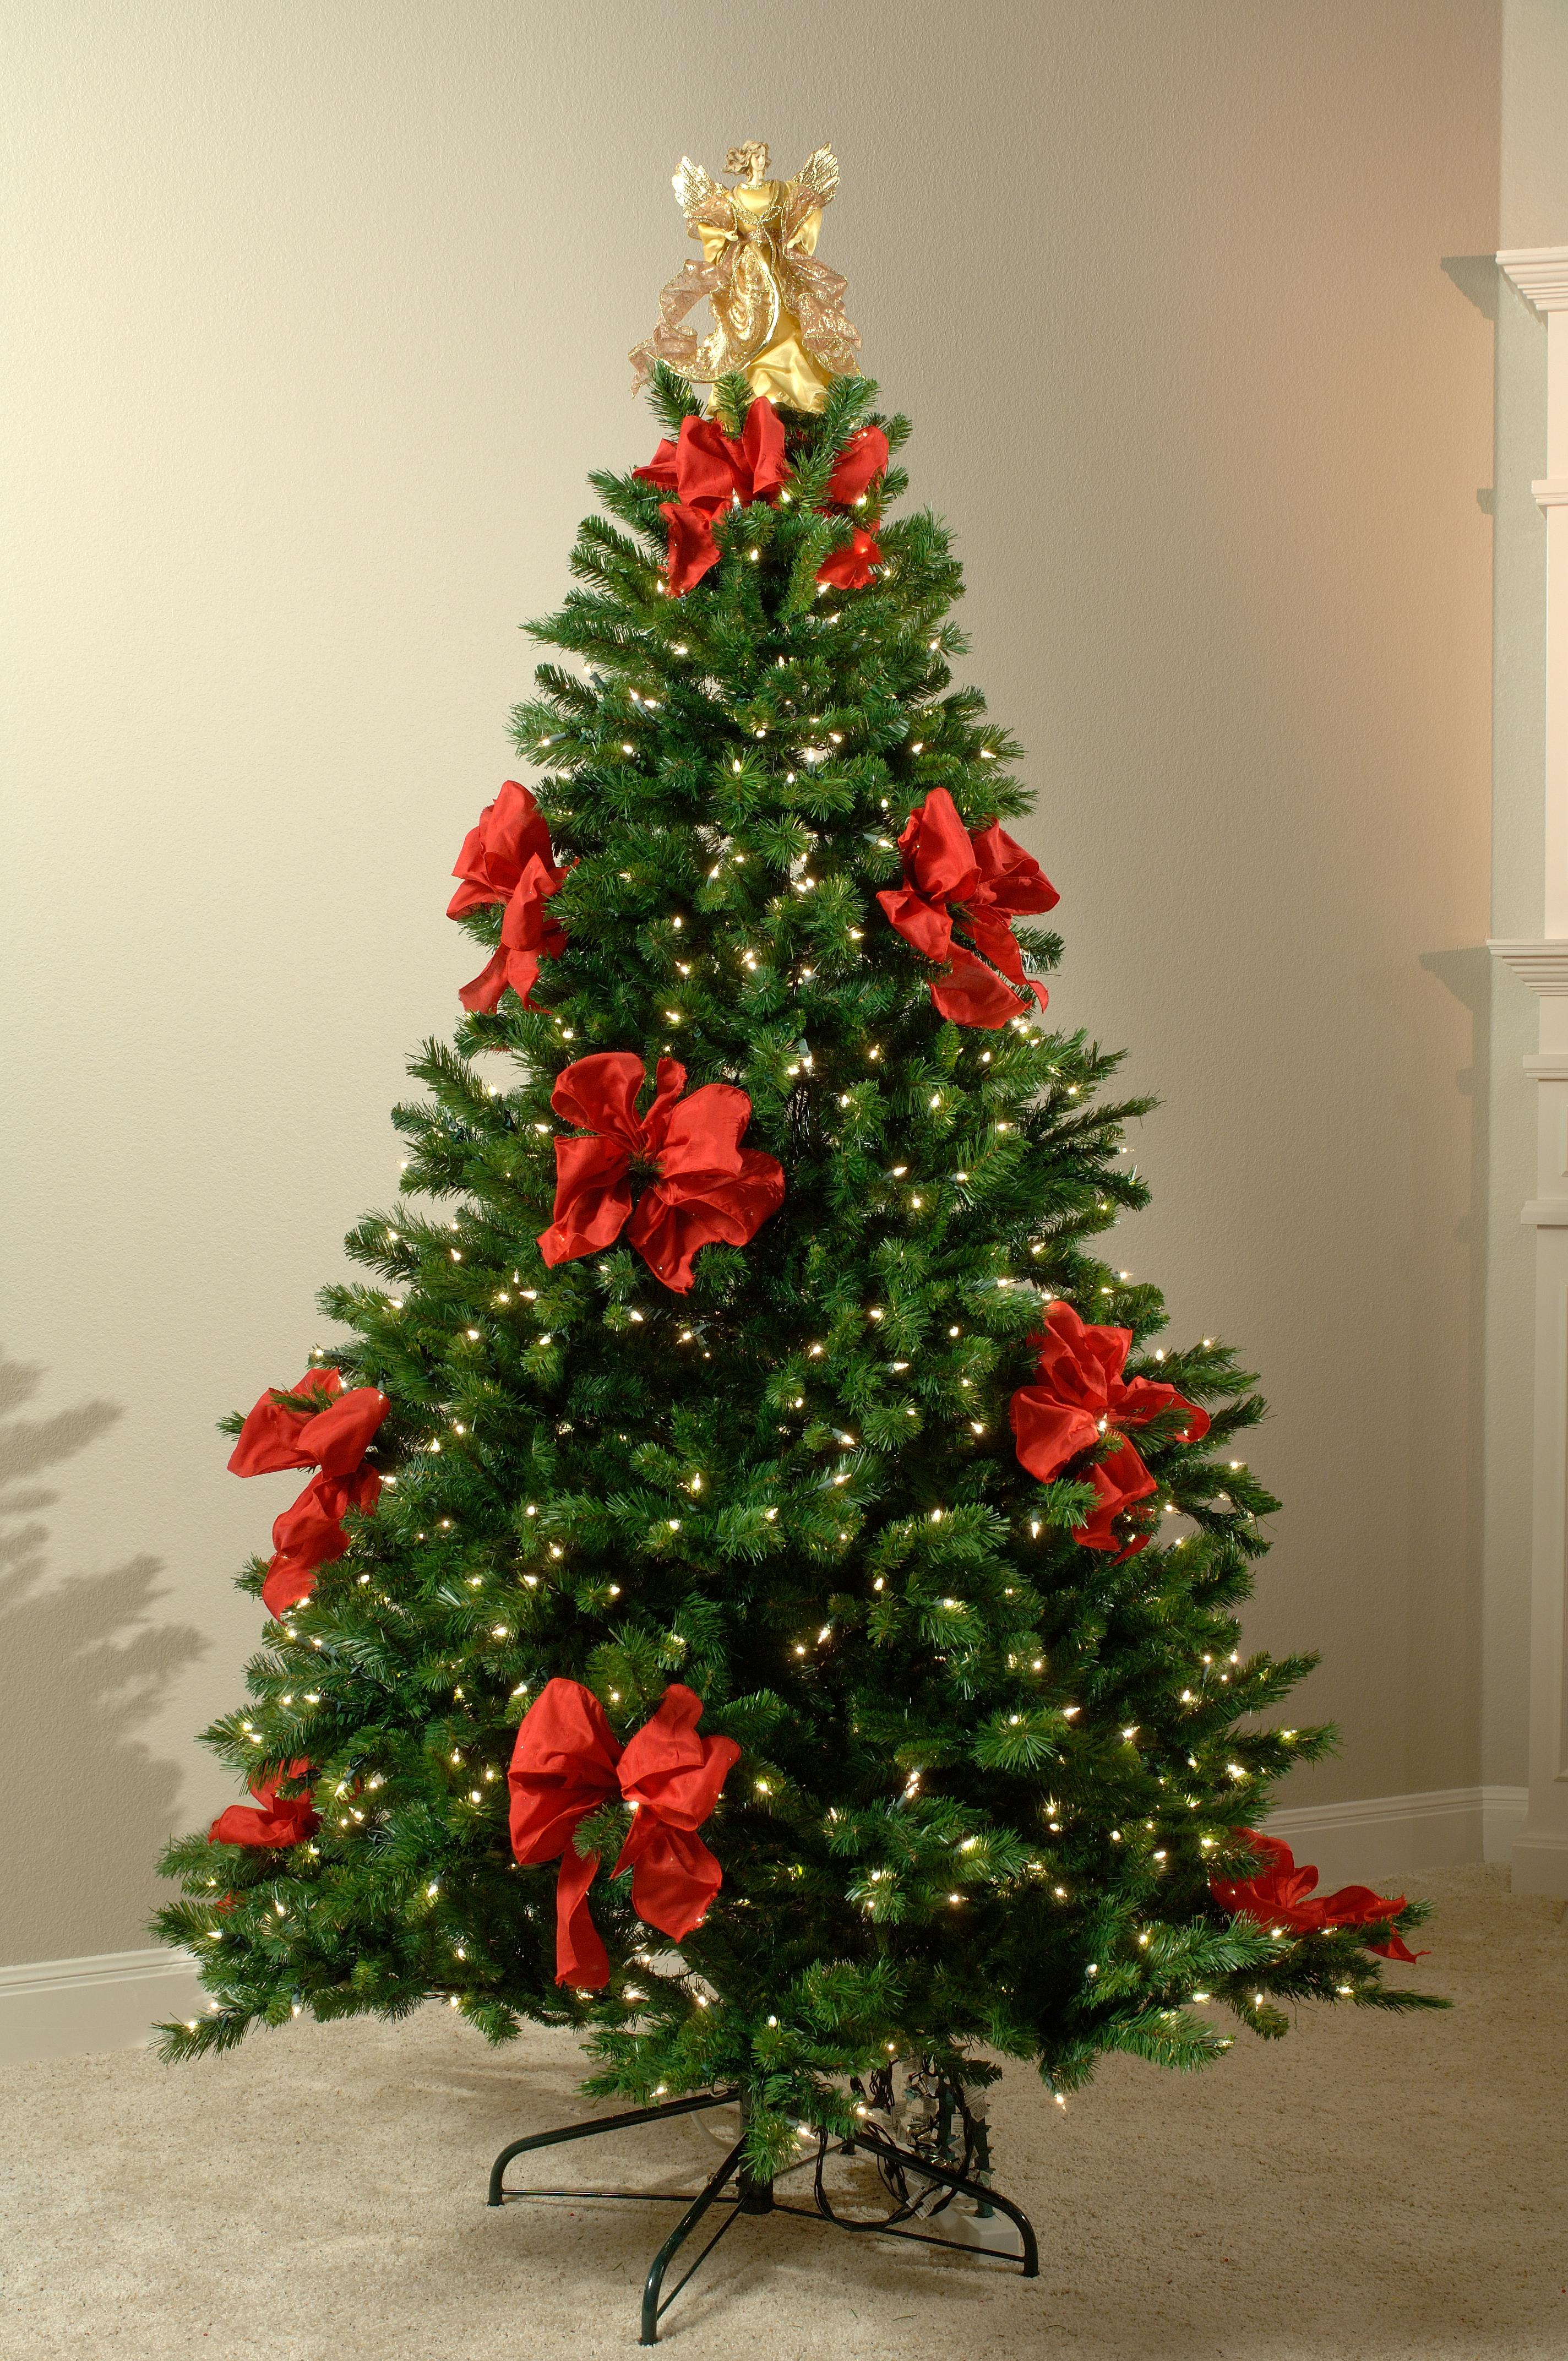
This year I used three kinds of ribbon of different widths for my 75 foot tree ranging from 25 to 375 inches. You follow it with bigger loops that you pinch in the middle. Mini wooden letters use the exact same idea maybe add some cotton balls.
And its really easy to create. Two of the simplest techniques work with ribbon by cutting it or not. Continue until you have gone all around the bottom.
32 Ways to Recycle Your Craft Supplies into a Charming DIY Christmas Tree Instead of struggling with an unwieldy tree that wont fit through the front door you can craft a tree thats the perfect size for your living space. Get the full tutorial from the below link. The good news is that you can still decorate for the holidays with these DIY Christmas tree ideas.
It would make a nice table decor and gift for family and friends. Keeping your thumb in the middle of the first loop and pinching up from there to keep the other loops equal and centred. Woven around your tree as a garland classic red-and-green plaid ribbons in tartan patterns such as Stewart and Chisholm give your Christmas tree a simple homespun feel.
Check out the detailed instructions via. Starting at the bottom of the tree make loops out of your lengths of ribbon and pin them onto the tree form. Attach to the bottom of the cone.

How To Put Ribbon On A Christmas Tree The Easy Frustration Free Way Christmas Tree Decorations Diy Christmas Tree Decorations Ribbon Christmas Tree Topper Ribbon
23 Christmas Tree Ideas Christmas Tree Decorations Ribbon Ribbon On Christmas Tree Diy Christmas Tree

How To Make A Ribbon Christmas Tree Christmas Crafts Diy Christmas Crafts Christmas Ornaments
Youtube Christmas Arts And Crafts Crafts Diy Craft Tutorials

Pin On Christmas

Scrap Ribbon Christmas Tree Ornaments Super Simple Diy Craft For Kids To Make Gift This Holiday S Kids Ornaments Crafts For Kids To Make Ornaments Diy Kids

Diy Curly Ribbon Pick Instructions On Hoosierhomemade Com Diy Christmas Tree Ornaments Ribbon On Christmas Tree Holiday Christmas Tree

Ribbon Table Top Christmas Tree Free Christmas Crafts Cone Christmas Trees Christmas Crafts

Pin On Diy Vibes

How To Make A Ribbon Christmas Tree Diy Christmas Ornaments Mini Christmas Tree Diy Christmas Tree

Diy Burlap Ribbon Christmas Tree Made With Solar Store Cardboard Paper Diy Burlap Christmas Crafts Burlap Ribbon
Ribbon Ribbon It S A Wrap With The Christmas Decorating Experts Easy Christmas Tree Decorations Creative Christmas Trees Gold Christmas Tree Decorations

Pin On Christmas
